Import a ReqIF file to Jama Connect
Import items, relationships, and other objects from a ReqIF file to Jama Connect.
ReqIF files from the following tools are formally supported for import:
Jama Connect
IBM® DOORS
IBM® DOORS Next
PTC Codebeamer®
Simulink®
Polarion®
To import a ReqIF file:
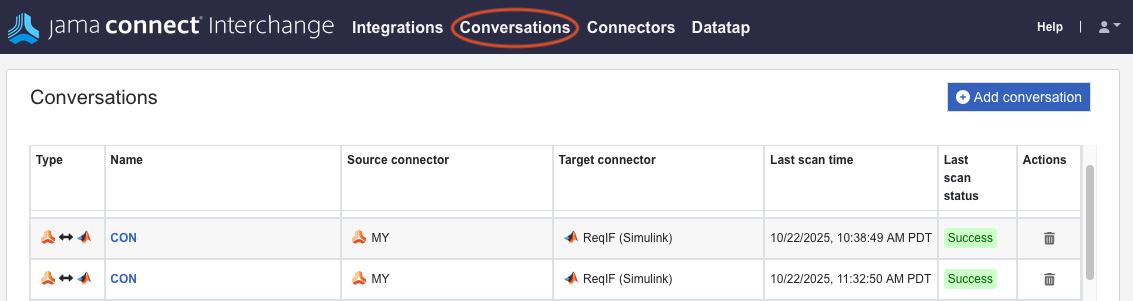
On the Conversations page, select an existing conversation to use for the import, or create a new conversation. For more information, see Create a new ReqIF conversation.
Select the Import tab:
In the Upload File section, select Upload and choose the .reqIF or .reqIFZ file from your computer for upload.
In the Select Import Location section, choose Select Location and select the Jama Connect location where you want to upload the ReqIF file data.
Data mapping fields are automatically generated on the lower half of the page. This process can take a few minutes to complete, depending on the size and complexity of the ReqIF file.
On the Modules subtab:
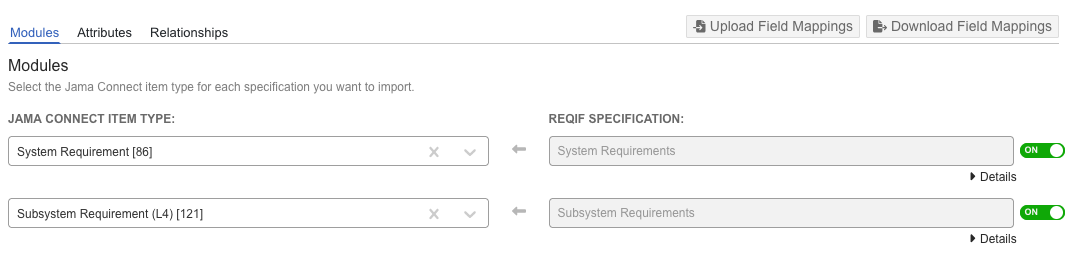
In the left drop-down list for each row, select the default Jama Connect item type to assign to the container and items being imported.
Each row represents a specification that is present in the file.
For ReqIF files exported from Jama Connect, these specifications correspond to sets or components containing one or more items.
For ReqIF files exported from DOORS and DOORS Next, these specifications correspond to modules containing one or more objects.
When these specifications are imported into Jama Connect, each specification is imported as an individual set or component in the Jama Connect Explorer Tree.
Select Next.
On the Fields/Attributes subtab, map the fields corresponding to the sets and items that will be imported for each specification. If the file contains multiple specifications, use the left navigation menu to access the mapping page for each specification and repeat this step for each specification.
In the Container/Set attributes section, select the Container field to open the Select Container page.
Important
The Select Container window only appears if the specification includes mappable attributes.
From the Container drop-down menu, select how you want the specification to be imported.
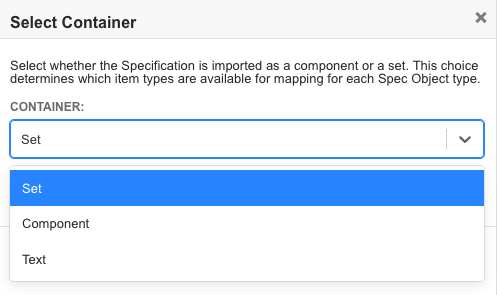
Set — Select Set if the specification can be imported as a single set container with child objects that are folder, text items, and/or individual items (and not sub-components or other sets).
Component — Select Component when your specification contains child objects arranged in a multi-level hierarchy that includes sub-components and/or sets.
Text
Select Generate mappings.
In the Container/Set Attributes section, set the ON/OFF toggle to ON for each attribute (field value) that you want to populate when creating sets in Jama Connect.
Typically, only a few fields, such as Name and Description, are required in this section.
In the Object Attributes section, map each spec object type within the specification to an item type in Jama Connect, then select Generate mappings.

Note
If you selected Set in the Container field, your options are limited to the specification type you selected in the Item Types/Modules subtab along with Text and Folder.
For each mapped spec object type, map the individual fields that you want import to Jama Connect:
Set the ON/OFF toggle to ON for each attribute (field value) that you want to import.
In the left drop-down list for each row that you enable, select the Jama Connect field to write the values to.
Select the Map to additional field link to map the same value from the ReqIF file to multiple fields on the Jama Connect item.
If you try to map multiple fields in the ReqIF file to the same Jama Connect field, only one mapping is honored; all others are ignored.
Important
When you map single-select or multi-select fields, you must also map the corresponding picklist values, which are nested under the field mapping row.
Map all required fields for the Jama Connect item type; otherwise, the items can't be created and error messages are generated in the logs. The left drop-down list indicates which fields are required.
Select Save.
On the Relationships subtab:
Set the ON/OFF toggle to ON for each spec relation type in the ReqIF file that contains relationships you want to import to Jama Connect.
In the left drop-down list for each row you enabled, select the Jama Connect relationship type to use for these relationships.
Make sure that Jama Connect relationship rules are configured to allow the relationship types and relationship directions that you are attempting to import.
To reverse the upstream/downstream direction from the default direction listed in the ReqIF file, select Reverse for that row. By default, “Source” items in the ReqIF file are imported as “Upstream” items and “Target” items in the ReqIF file are imported as “Downstream” items.
Select Initiate Import to import the file.
Select the Logs tab to check the status of the import.
The ReqIF file is imported to Jama Connect.