Configure additional field mappings
After testing the integration between Jama Connect and Jira using the Name and Description fields, add additional field mappings to the Field Mappings page, as needed.
As a minimum, we recommend adding these field mappings:
Jama Name ↔ Jira Summary
Jama Description ↔ Jira Description
Jama URL → Jira custom text field
Jama custom text field ← Jira URL
Jama Downstream Related Items → Jira Weblinks
Jama Upstream Related Items → Jira Weblinks
Note
If all data for the newly mapped field is currently stored in one system, set the directionality of that field so that data flows one-way from that source system to the destination system before running the first sync. You can change the directionality back to bidirectional after the first sync.
To configure additional field mappings:
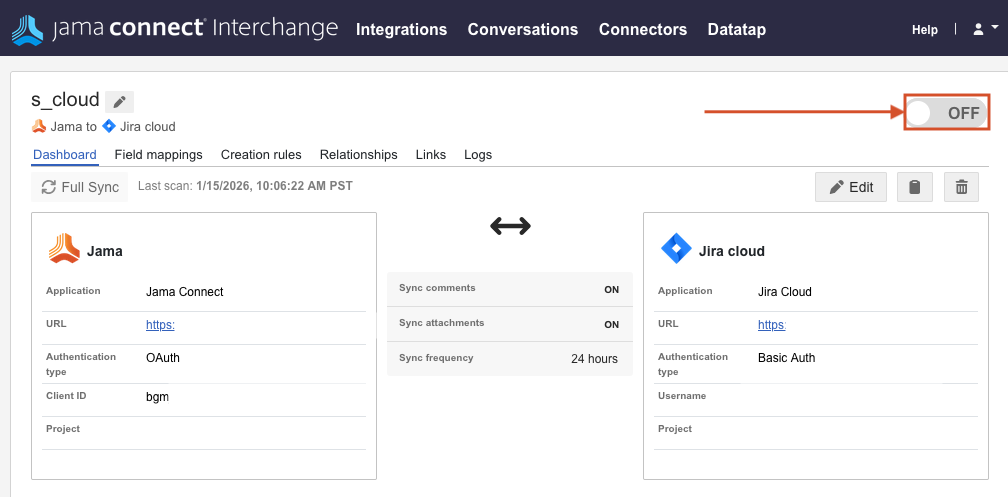
Turn off the integration.
Select the Field Mappings tab and add a row for the new field mapping.
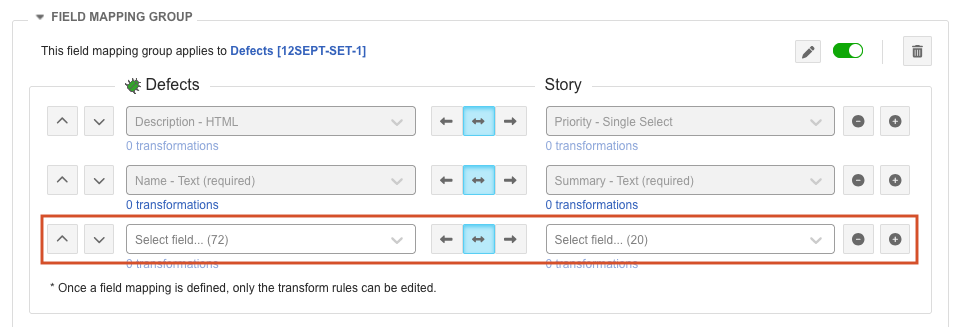
Use the drop-down lists to select the fields you want to map.
Use the arrows to select the directionality for the field mapping.
Select Save Changes.
Turn the integration back ON.
Select Full Sync.
On the first page of the Full Sync wizard, select Custom sync.
On the second page of the wizard, select only the newly mapped field and its sync direction.
For example, if all information for this field is currently stored in Jama Connect, select → so that information flows from Jama Connect to Jira when the custom sync is run.
On the final page of the wizard, select Confirm to execute the sync.
The newly added field mappings are saved and the sync is run.
For more information about using the Full Sync wizard, see Perform a Full Sync for Jira integrations.