Perform a Full Sync for Jira integrations
To maximize performance and minimize load on Jama Connect and the integrated system, regular syncs include only items that were modified since the last integration run. However, you can sync all items with the Full Sync option.
Important
Only run a Full Sync when advised by Jama Software Support because it is a performance-intensive operation.
To perform a Full Sync:
On the Integrations page, select the link for the integration.
On the Integration dashboard, select Full sync to open the "Full sync" wizard.
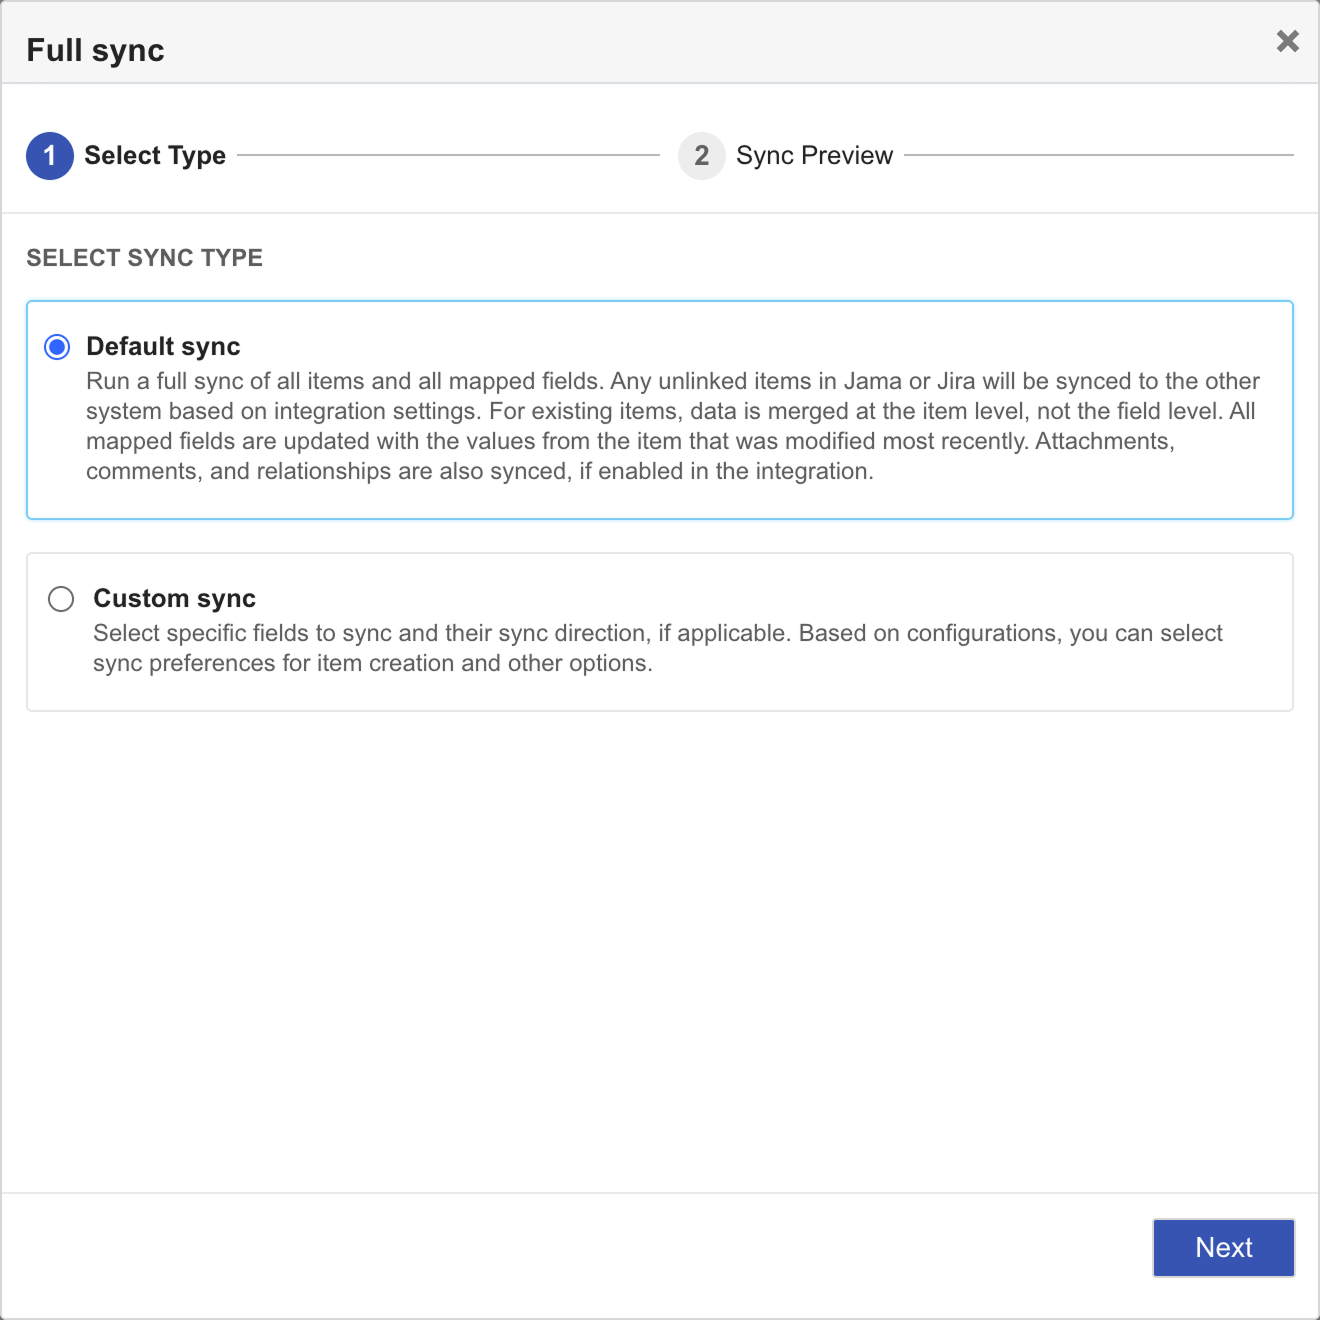
On the Select Type page, choose whether to run a Default sync or Custom sync, then select Next.
Default sync — Fully synchronize all mapped fields for all items in the integration. For a complete description of the default full sync process, see Delta syncs and full syncs.
Custom sync — Select specific fields and elements to sync, and their sync direction.
(Custom sync only) On the Select Items page, choose one or more of the following options, then select Next.
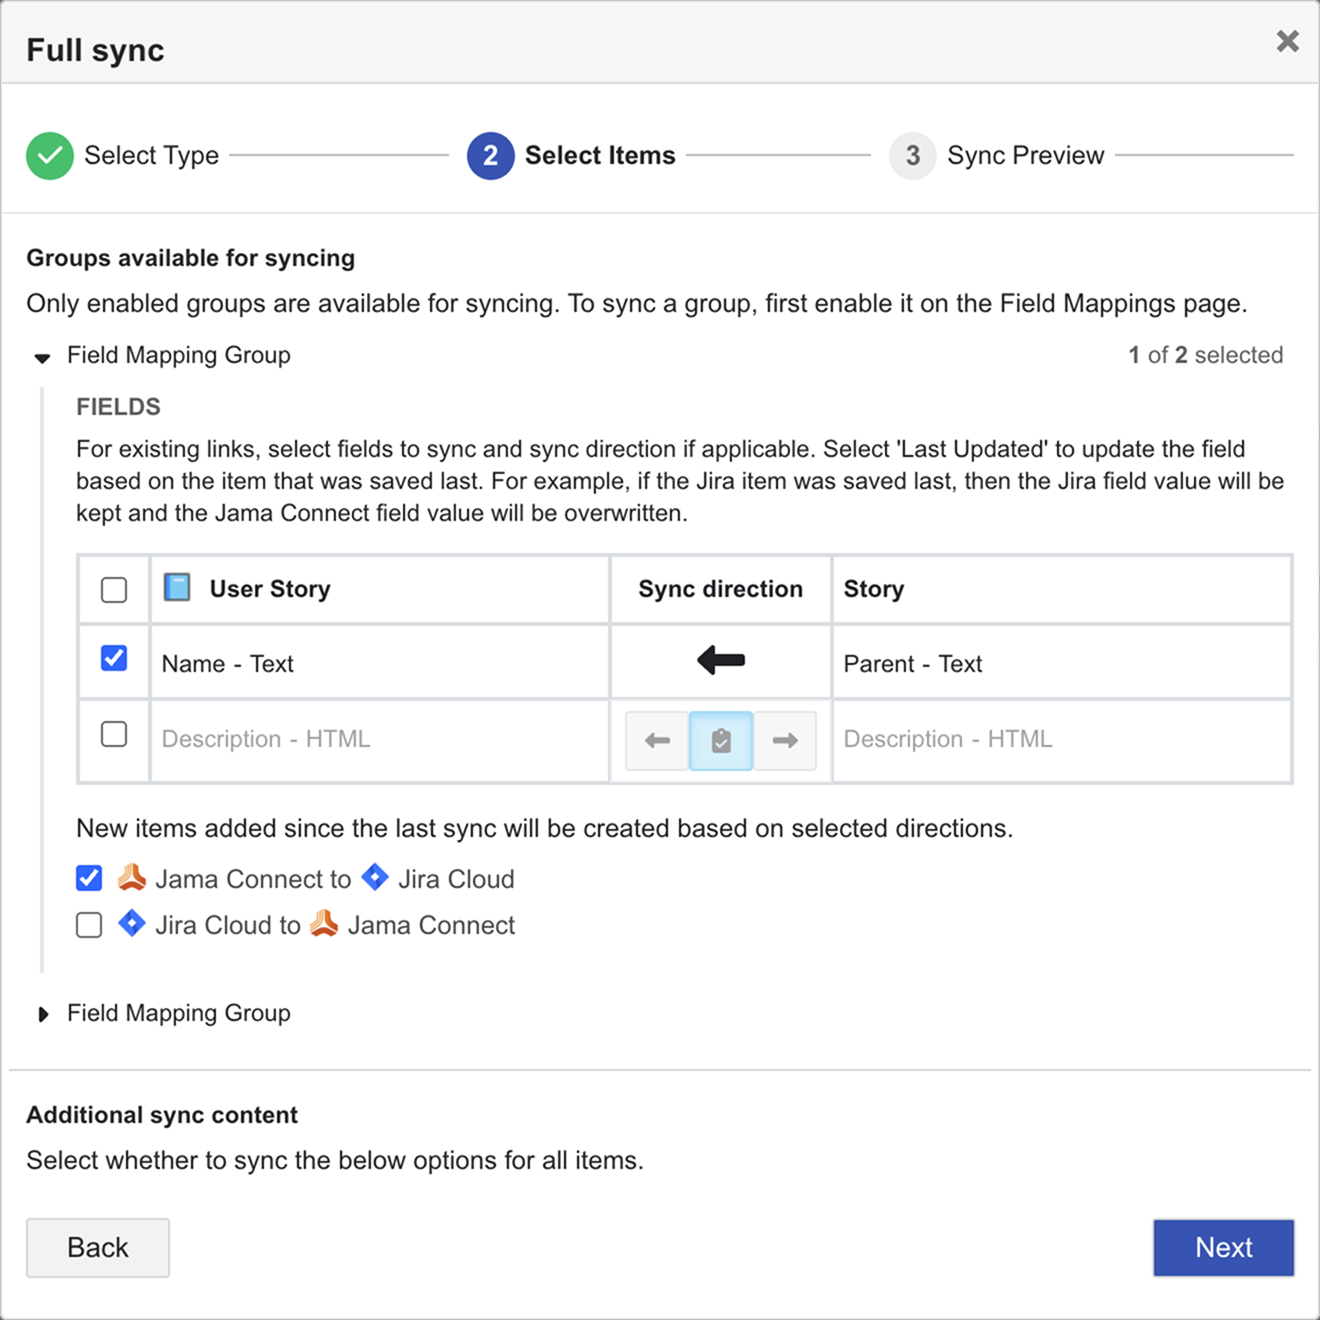
Create new items — Choose whether to sync any new items that were added to Jama Connect and/or Jira since the last sync. Only items that meet the criteria selected for the integration (such as project and set locations, issue types, creation rules) are synced.
Update existing fields — For items that are already being synced, select one or more mapped fields to sync and the sync direction.
Only fields mapped on the Field Mapping page are listed. If a field can be synced only one way (for example, because it is marked read–only in one system), its sync direction is locked.
On the Sync Preview page, review the information for the sync, and select Confirm.
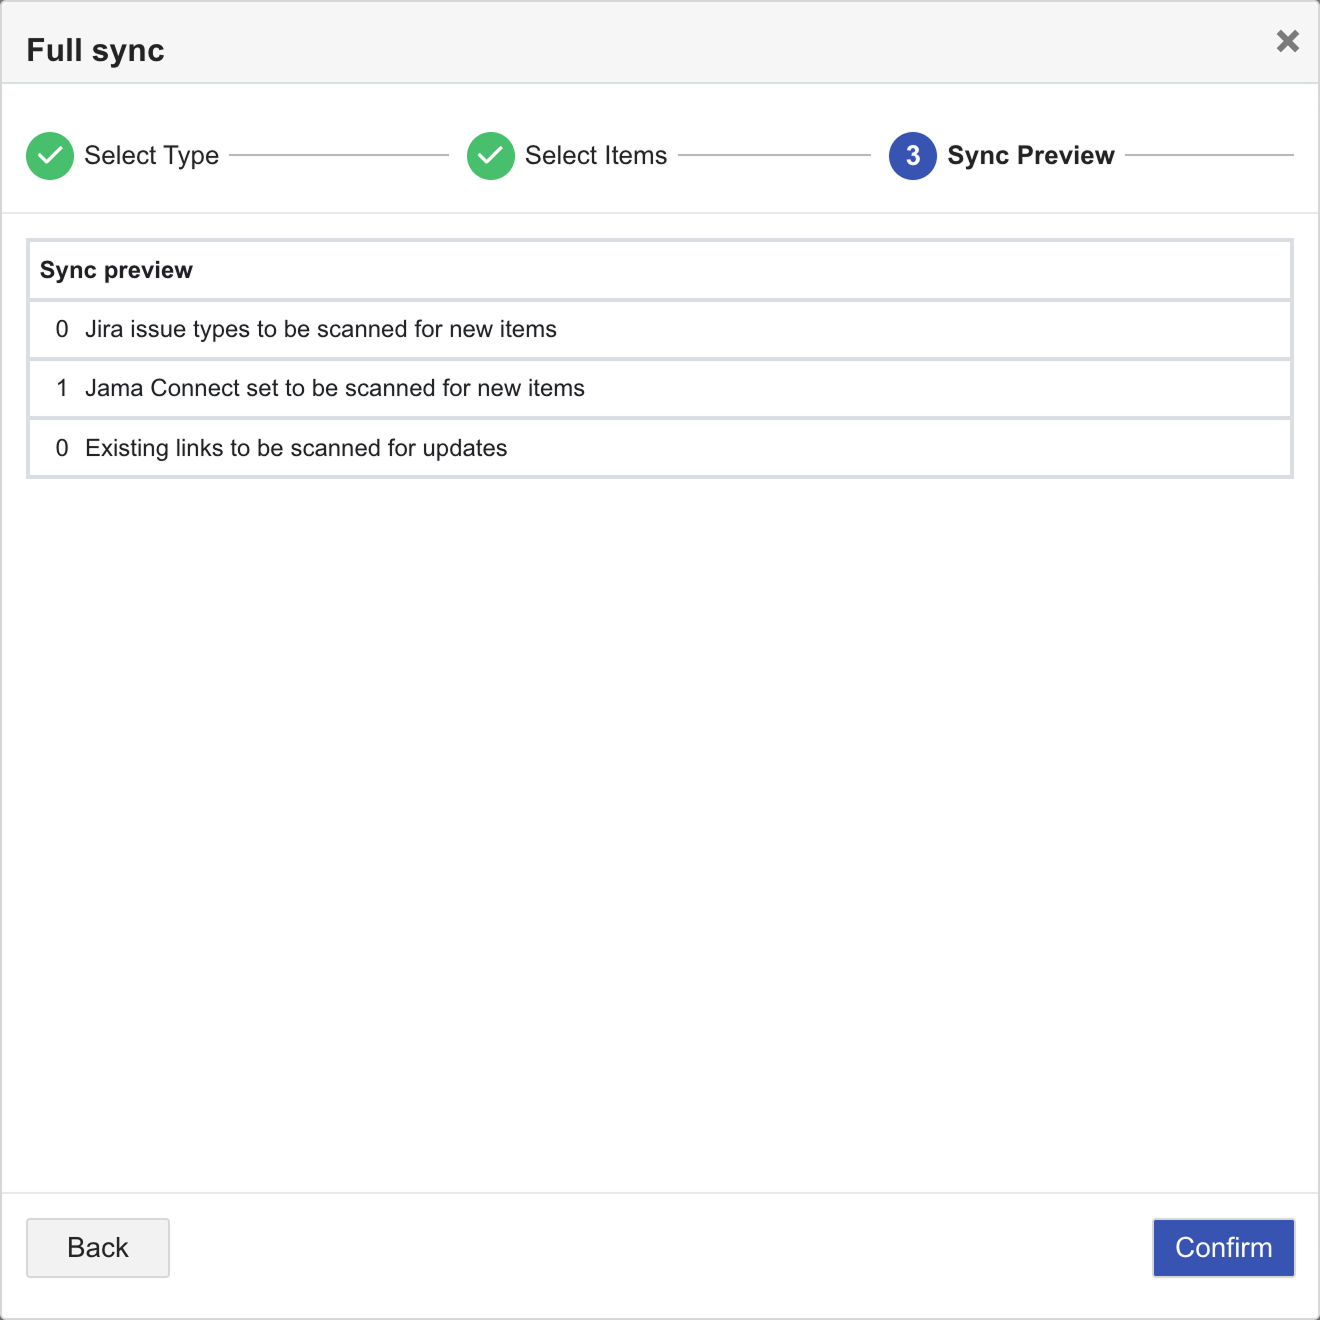
The full sync is run. When the sync finishes processing, a message is posted on the Logs page.