Create a simple Excel Functions integration
After you create your Excel template and attach it in Jama Connect, you can create a simple integration that connects to the template.
In the Jama Connect Interchange header bar, select Integrations.
On the Integrations page that opens, select Add integration to open the Jama Connect Integration Wizard.
Complete each page of the wizard, then select Next.
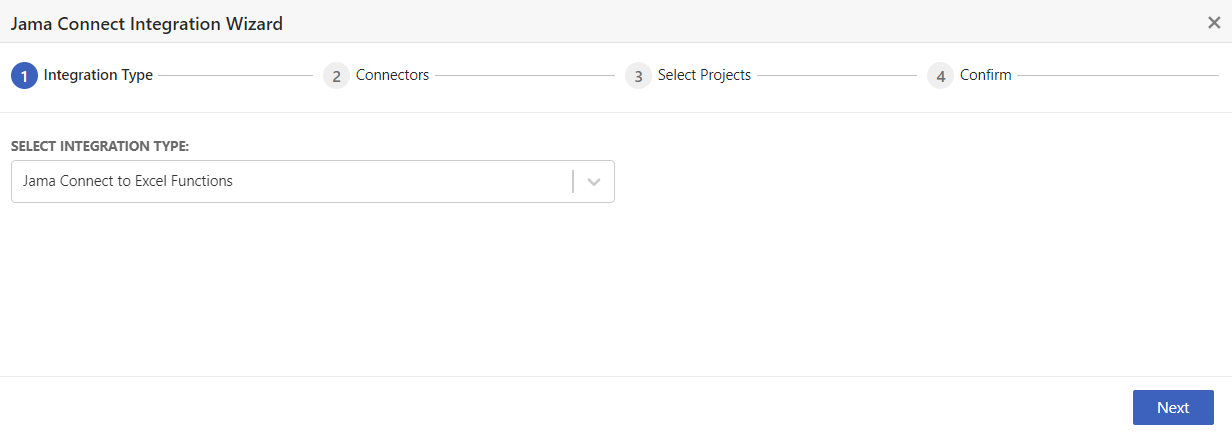
Select Integration Type

Select integration type — Select Jama Connect to Excel Functions.
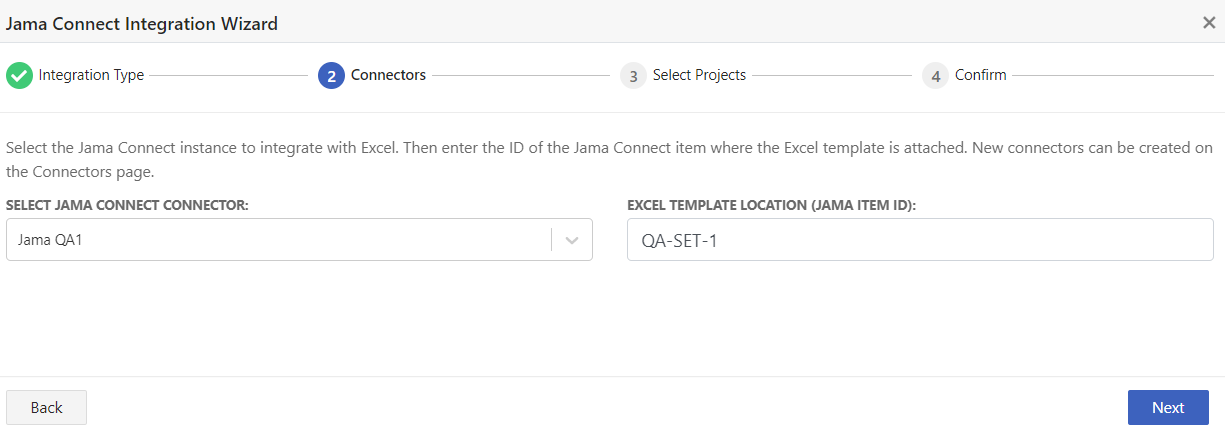
Choose Connectors to Integrate

Choose Jama Connect for Source Connector — Select the Jama Connect connector that you want to integrate. This is the same connector you created in Link your Jama Connect instance to Excel Functions.
Excel Template Location (Jama ID) — Enter the Jama Connect item project ID where the Excel template is attached. For example, PROJ-SET-0001.
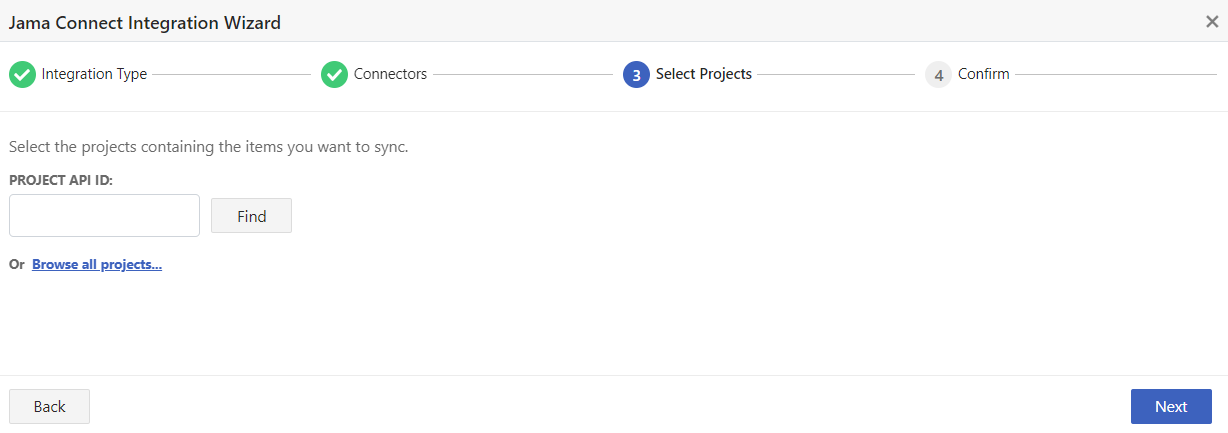
Select Projects

Search or browse for the Jama Connect project that you want to integrate.
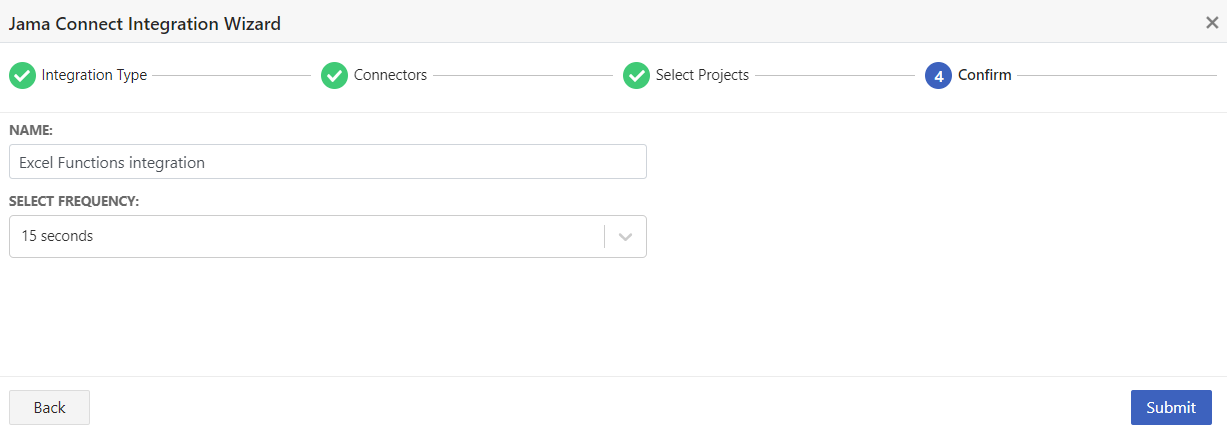
Integration Configuration

Name — Enter a descriptive name for the integration.
Frequency — Select the frequency with which you want the integration to run (3 or 5 seconds is recommended).
Select Submit to complete the wizard.
The integration is saved in a disabled state.