Create a simple Jira integration
Before building a complex integration with multiple mappings and complex rules, we recommend that admins create a simple integration that maps only the Name and Description fields. This first integration is used to verify connectivity and authentication between the systems.
To create a simple integration:
In Jama Connect, create a new, empty set or folder in the Explorer Tree. In a later step, you will add items to this set to test the integration.
In Jira, create a new, empty project for testing purposes. In a later step, you will use this project to test the integration.
In the Jama Connect Interchange header bar, select Integrations.
On the Integrations page, select Add integration to open the Jama Connect Integration Wizard.
Complete each page of the wizard, then select Next.
Select Integration Type
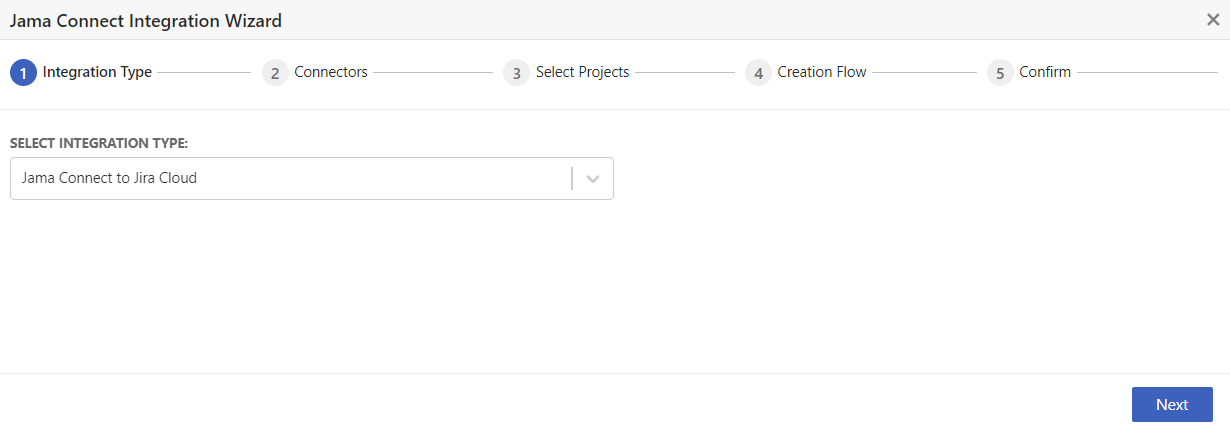
Select integration type — Select Jama Connect to Jira Cloud or Jama Connect Jira Data Center.
Choose Connector to Integrate
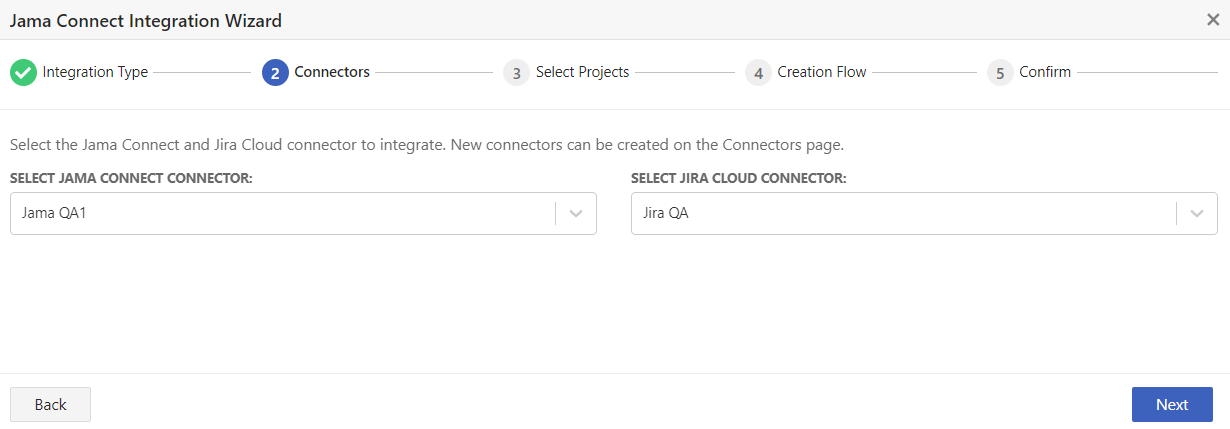
Choose Jama Connect for Source Connector — Select the Jama Connect connector that you want to integrate. This is the same connector you created in Link your Jama Connect instance to Jira.
Choose Jira for Target Connector — Select the Jira connector that you want to integrate. This is the same connector you created in Link to your Jira instance.
Select Project and Type
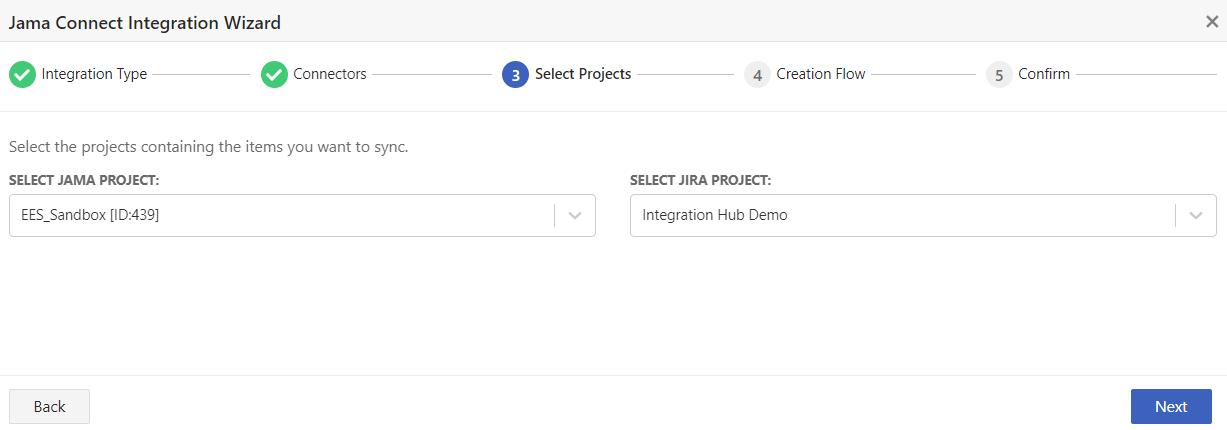
Jama Connect — For the Jama Connect connector, search or browse to the Jama Connect project that you want to integrate.
Jira — For the Jira connector, select the Jira project that you want to integrate.
Item Creation Flow
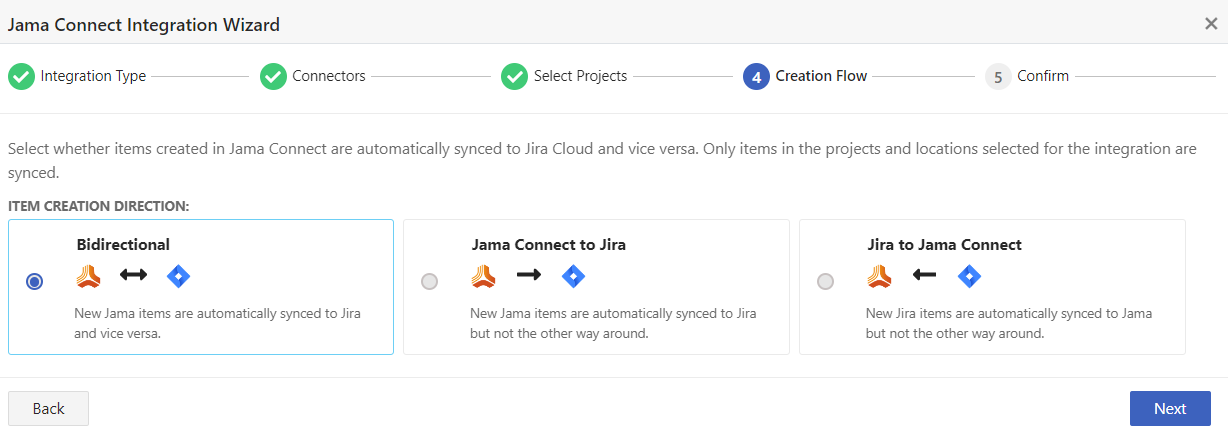
Bidirectional Item Creation — When an item is created in Jama Connect, a corresponding issue is created in Jira, and vice versa. This keeps both systems in sync with the same number of items. Attachments, Comments, and Comment Replies created in either system are added to the other system.
Jama Connect to JIRA Creation — Items created in Jama Connect are automatically added to Jira, but not the other way around. Only Item Attachments, Comments, and Comment Replies created in Jama Connect are created in Jira.
JIRA to Jama Connect Creation — Items created in Jira are automatically added to Jama Connect, but not the other way around. Only Item Attachments, Comments, and Comment Replies created in Jama Connect are created in Jira.
Integration Configuration
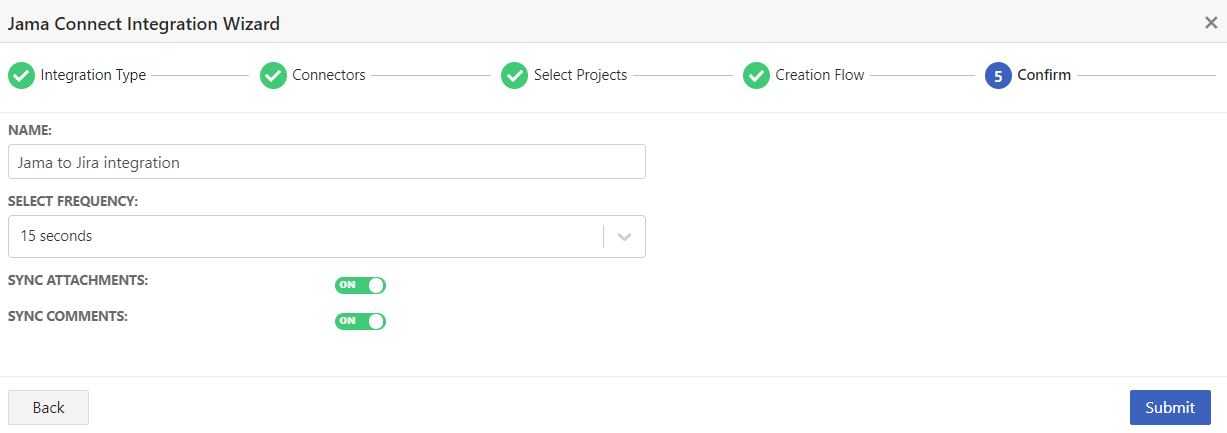
Name your Integration — Enter a descriptive name for the integration.
Frequency — Select the frequency with which you want the integration to run.
Sync Attachments — Toggle to Enabled to sync item attachments.
Only attachments less than 25 MB are copied between systems. If an attachment exceeds 25 MB, a placeholder text file is created in the other system to indicate that an attachment exists in the linked item.
Sync Comments — Toggle to Enabled to sync item comments.
Note
Interchange does not support edits to Jira comments. If a Jira user edits a comment after posting it, the edited version is not synced to Jama Connect. Only the original comment text exists in Jama Connect.
Jira Data Center integrations only — Comments with embedded images are not supported. The comment text syncs as expected, but the image file is synced as a URL only.
Select Submit to complete the wizard.
The integration is saved in a disabled state.