Configure field mappings for Jira
After you create an integration, map fields in Jama Connect to the corresponding fields in Jira.
If your integration workflow includes multiple item types (for example, User Stories and Defects), create a separate field mapping group for each item type.
Important
Don't use the same Jama Connect item type or Jira issue type in more than one mapping group within an integration. For example, don't create two separate mapping groups in the same integration that apply to Jira Stories. This can lead to conflicts or duplicates when items are synced.
To configure field mappings:
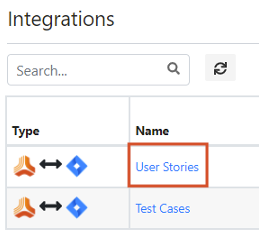
On the Integrations page, select the link for the integration you just created.
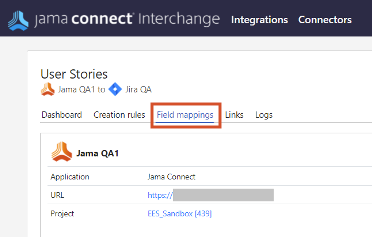
Select the Field Mappings tab.
For each field mapping group you want to add:
Select Add new field mapping group.
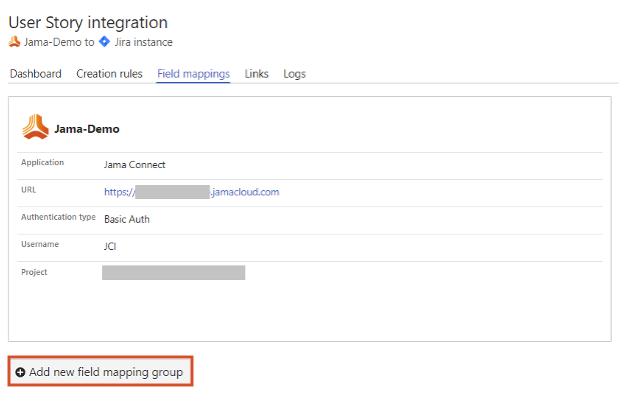
The Add a new Field Mapping Group page opens.
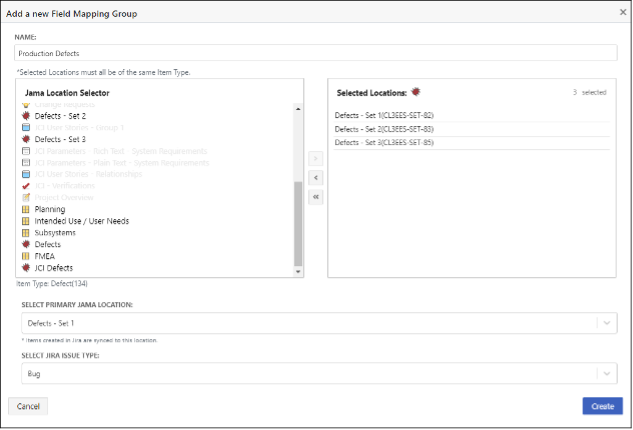
Complete these fields, then select Create.
Name — Enter a descriptive name for the field mapping group.
Jama Location Selector — Select the Jama Connect sets or folders that you want to sync. All selected sets must use the same item type (for example, User Stories or Defects).
Select Primary Jama Location — Select the Jama Connect set or folder where you want to sync new items coming from Jira.
Select Jira Issue Type — Select the Jira issue type to sync with. When items are synced from Jama to Jira, they are created in Jira using this issue type. When issues are synced from Jira to Jama Connect, only issues of this type are selected for sync.
The page closes, and the new field mapping group is created.
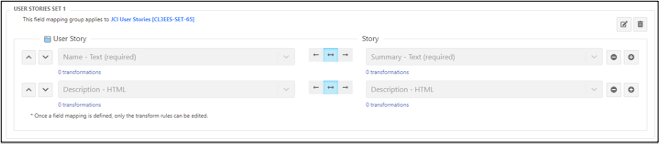
Using the drop-down lists, map the Jama Connect and Jira fields to each other. Begin with a few fields first (for example, Name and Description), then test the integration before adding more fields.
Important
A field only appears in the Jira drop-down list if you configure it to be displayed on both the “Create issue” and “Edit issue” screens for the Jira issue type. This requirement only applies to company-managed Jira projects.
You must map all required fields in the target system. For example, if Jira requires that the Summary field must be filled out to create the item, make sure you map the Summary field. Required fields are labeled with (required) in the field mapping picklist.
Select Save Mappings.